Displaying text using oled.text()

Introduction

In the Beginner course, we learned how to show text on the OLED screen using the screen.print_line() block. Now, we’ll be using a more advanced version of text printing where both the x and y positions are controllable.

Components Needed

  • Little Python Brain
  • A tablet/phone/laptop
Steps

1

Importing the screen library

These are the only blocks that we need to set up full control of our screen. Unlike the sensors (temperature, touch, and light) and the outputs (buzzer and neopixel), we don’t need a separate block from Setup to get it up and running. Importing these libraries already initializes them for our codes.

2

The oled.fill(0) block

This block is responsible mainly for clearing the screen. Think of it like erasing a blackboard.

3

Storing string data to variables

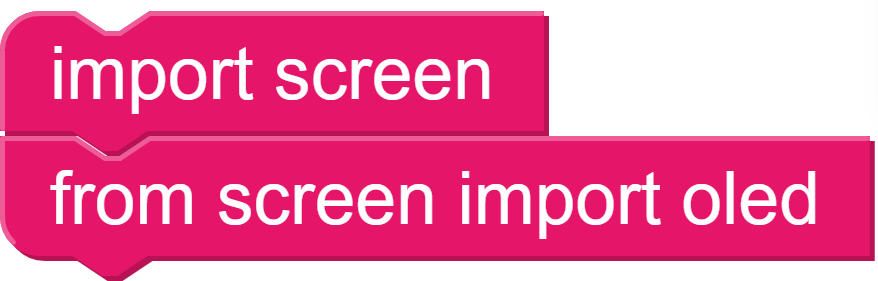
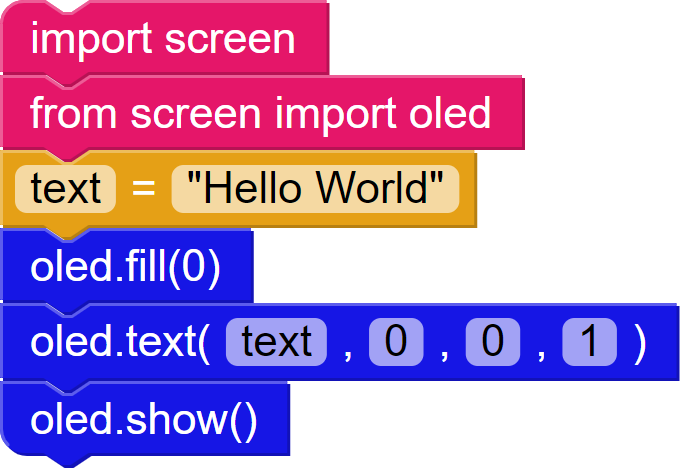
When printing text, we usually just print by enclosing our text in quotation marks (“) then using the print() function to print those. 

However, we can also store text in variables, similar to how we store sensor values from the Beginner section.

To do this, simply use the variable = value block. To start, let’s store the text “Hello World” into a variable simply called text.

4

The oled.text() block

The oled.text() is comprised of three different parameters that we need to specify in order to draw a pixel.

  • Text – by default, we can let the OLED display string directly by specifying the text we want to print directly such as in the default block (with Hello World!). However, we can also print out variables. 
  • x – the horizontal (left to right) position where the text starts. This can go from 0 (leftmost) to 128 (rightmost). 
  • y – the vertical (up to down) position where the text starts. This can be specified as 0 (top) to 64 (bottom).
  • color – can be 0 (black/off) or 1 (white/on).

5

Modifying the oled.text() block

  • Change the “Hello World!” to text 
  • Set x and y to 0 
  • Set the color as

6

Using the oled.show() block

Similar to how we use np.write() to display the color that we set for our NeoPixel, we also need to use oled.show() to display the text, pixels, shapes, fills, and images that we set on the OLED screen.

The Complete Code

Run and note the position of the text. We’ll start animating this on the next lesson.

Back to: Intermediate > Animated Text
© 2020 Little Python

CONTACT US

    Log in with your credentials

    or    

    Forgot your details?

    Create Account