You must first complete Displaying Text Using oled.text() before viewing this Lesson

Introduction to For Loops

Introduction

We will now start to do some basic OLED text animation using a different kind of loop called for loops.

Components Needed

  • Little Python Brain
  • A tablet/phone/laptop
Steps

1

The for loop

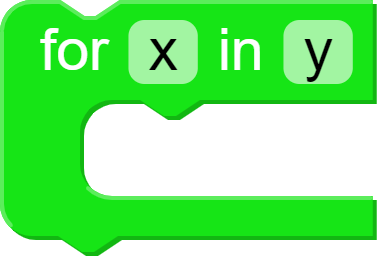
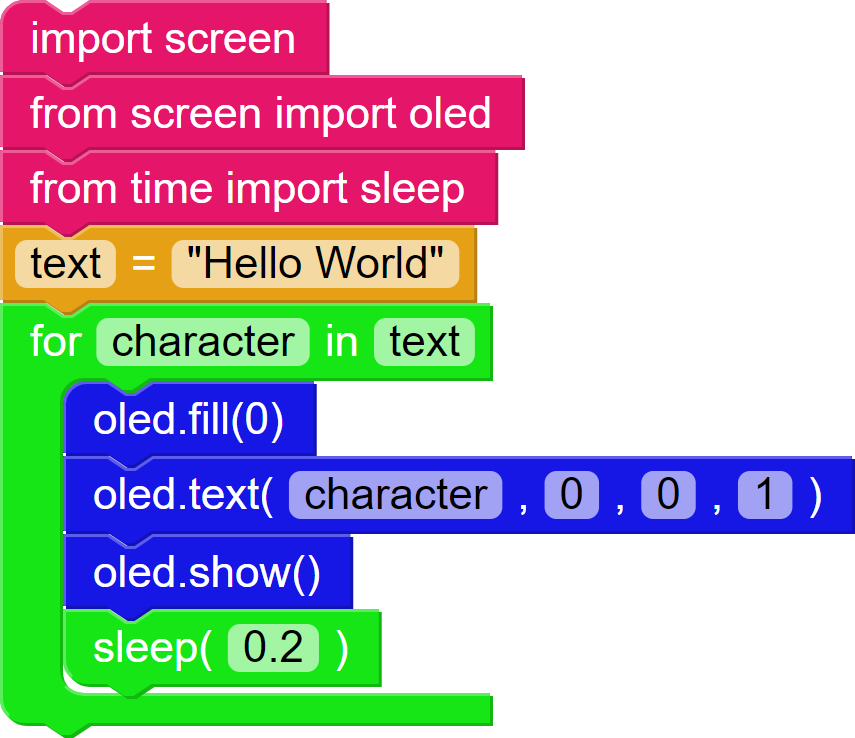
While a while loop repeats indefinitely as long as a condition is met, a for loop is a bit more complicated: it iterates (or repeats) for as long or as many times as we specify it. 

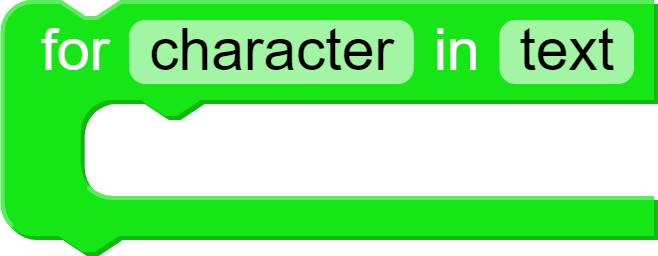
In a for x in y loop, a y has to be a list of multiple data while the x has to be an element of that list. For example, in our variable text , the text should be our y and the individual characters should be our x.

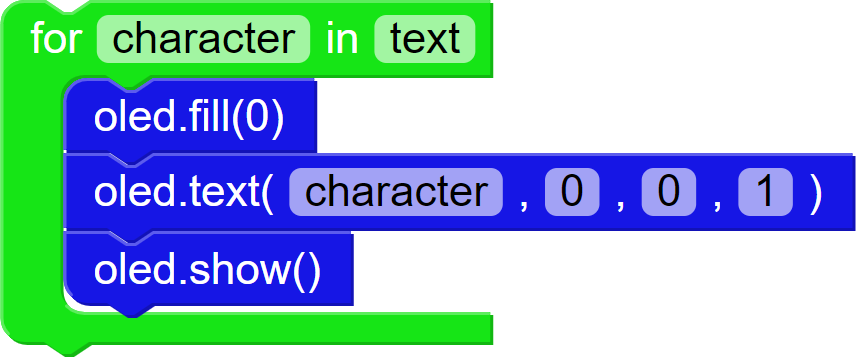
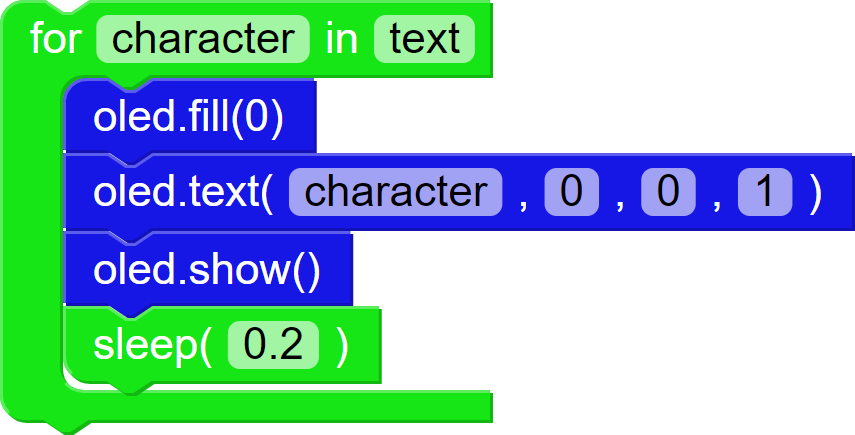
To better understand it, let’s try it in action!

2

For x in y

We will be iterating through the hello world text that we have. The string “Hello World” is comprised of 10 letters and 1 space. We can use a for loop to display these characters one by one.


We want to iterate for character in text. Change x to character and change y to text. 

What this does is basically do a command for each character inside the text. We’re going to do a basic command, which is to print out the current character or letter to the OLED screen.

3

The code inside the for loop

Now, we’ll simply drag the oled elements from the previous lesson INSIDE the for loop and change “text” to “character”

4

Adding sleep elements

We will add some sleep elements to this code. So import the sleep library and add a sleep(0.2) at the end of the for loop.

The Complete Code

This will quickly flash each character of the text one by one. However, they’re all on the same space! In the next lesson, we’ll be displaying the whole text and animating it one letter at a time.

Back to: Intermediate > Animated Text
© 2020 Little Python

CONTACT US

    Log in with your credentials

    or    

    Forgot your details?

    Create Account