Displaying Individual Pixels to OLED

Introduction

Welcome to the Intermediate Course! For our first project, we will be looking at how to work with pixels on the OLED screen of the LP Brain. We’ll begin by learning about how to display them as well as what the blocks to display them are and what they do. 

Components Needed

  • Little Python Brain
  • A tablet/phone/laptop
Steps

1

Importing the screen library

These are the only blocks that we need to set up full control of our screen. Unlike the sensors (temperature, touch, and light) and the outputs (buzzer and neopixel), we don’t need a separate block from Setup to get it up and running. Importing these libraries already initializes them for our codes.

2

The oled.fill(0) block

This block is responsible mainly for clearing the screen. Think of it like erasing a blackboard.

3

The oled.pixel() block

The oled.pixel() is comprised of three different parameters that we need to specify in order to draw a pixel.

  • x – the horizontal (left to right) position of the pixel. This can go from 0 (leftmost) to 128 (rightmost). 
  • y – the vertical (up to down) position of the pixel. This can be specified as 0 (top) to 64 (bottom).
  • color – can be 0 (black/off) or 1 (white/on).

For now, let’s place the pixel on the MIDDLE of the screen. Set x as 64 and y as 32.

4

The oled.show() block

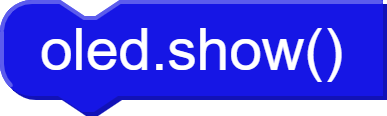
Recall how we write colors to the NeoPixel. First, we set the color. Afterwards, we set an np.write() block to show that color.

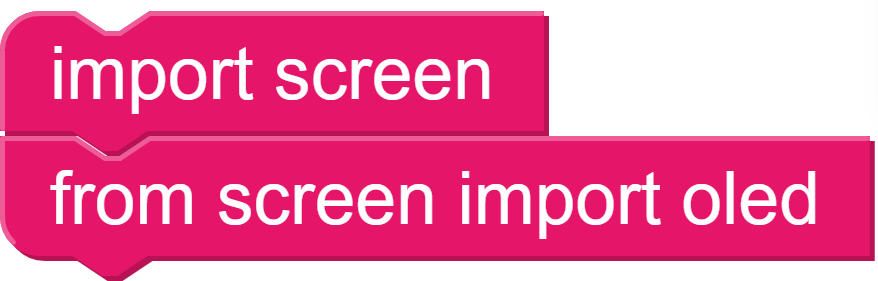
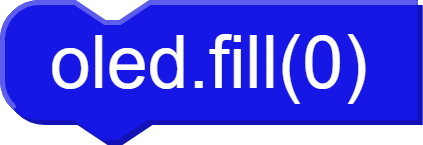
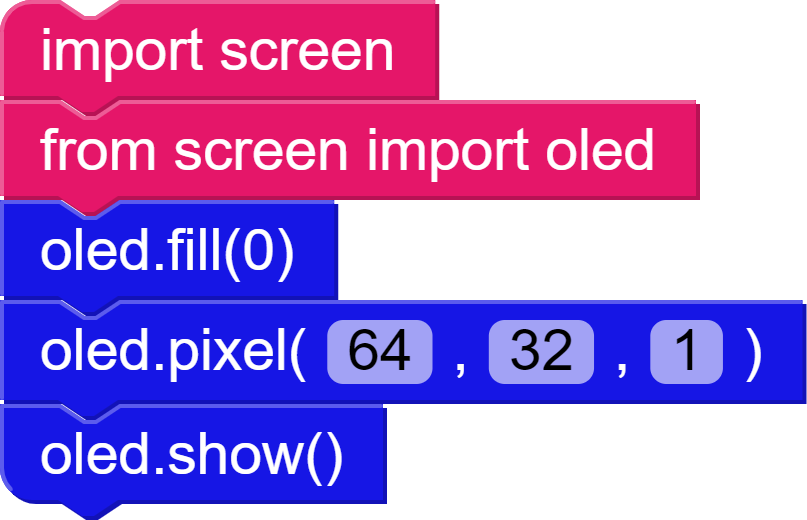
It’s very similar with the OLED. When we set any text, fill, shape, pixel, or image, we need to then write this to the OLED itself using the oled.show() block in order to display them! 

The Complete Code

Run the code and note where the pixel is! In the next lesson, we’ll be learning how to move this pixel.

Back to: Intermediate > Game Controller
© 2020 Little Python

CONTACT US

    Log in with your credentials

    or    

    Forgot your details?

    Create Account